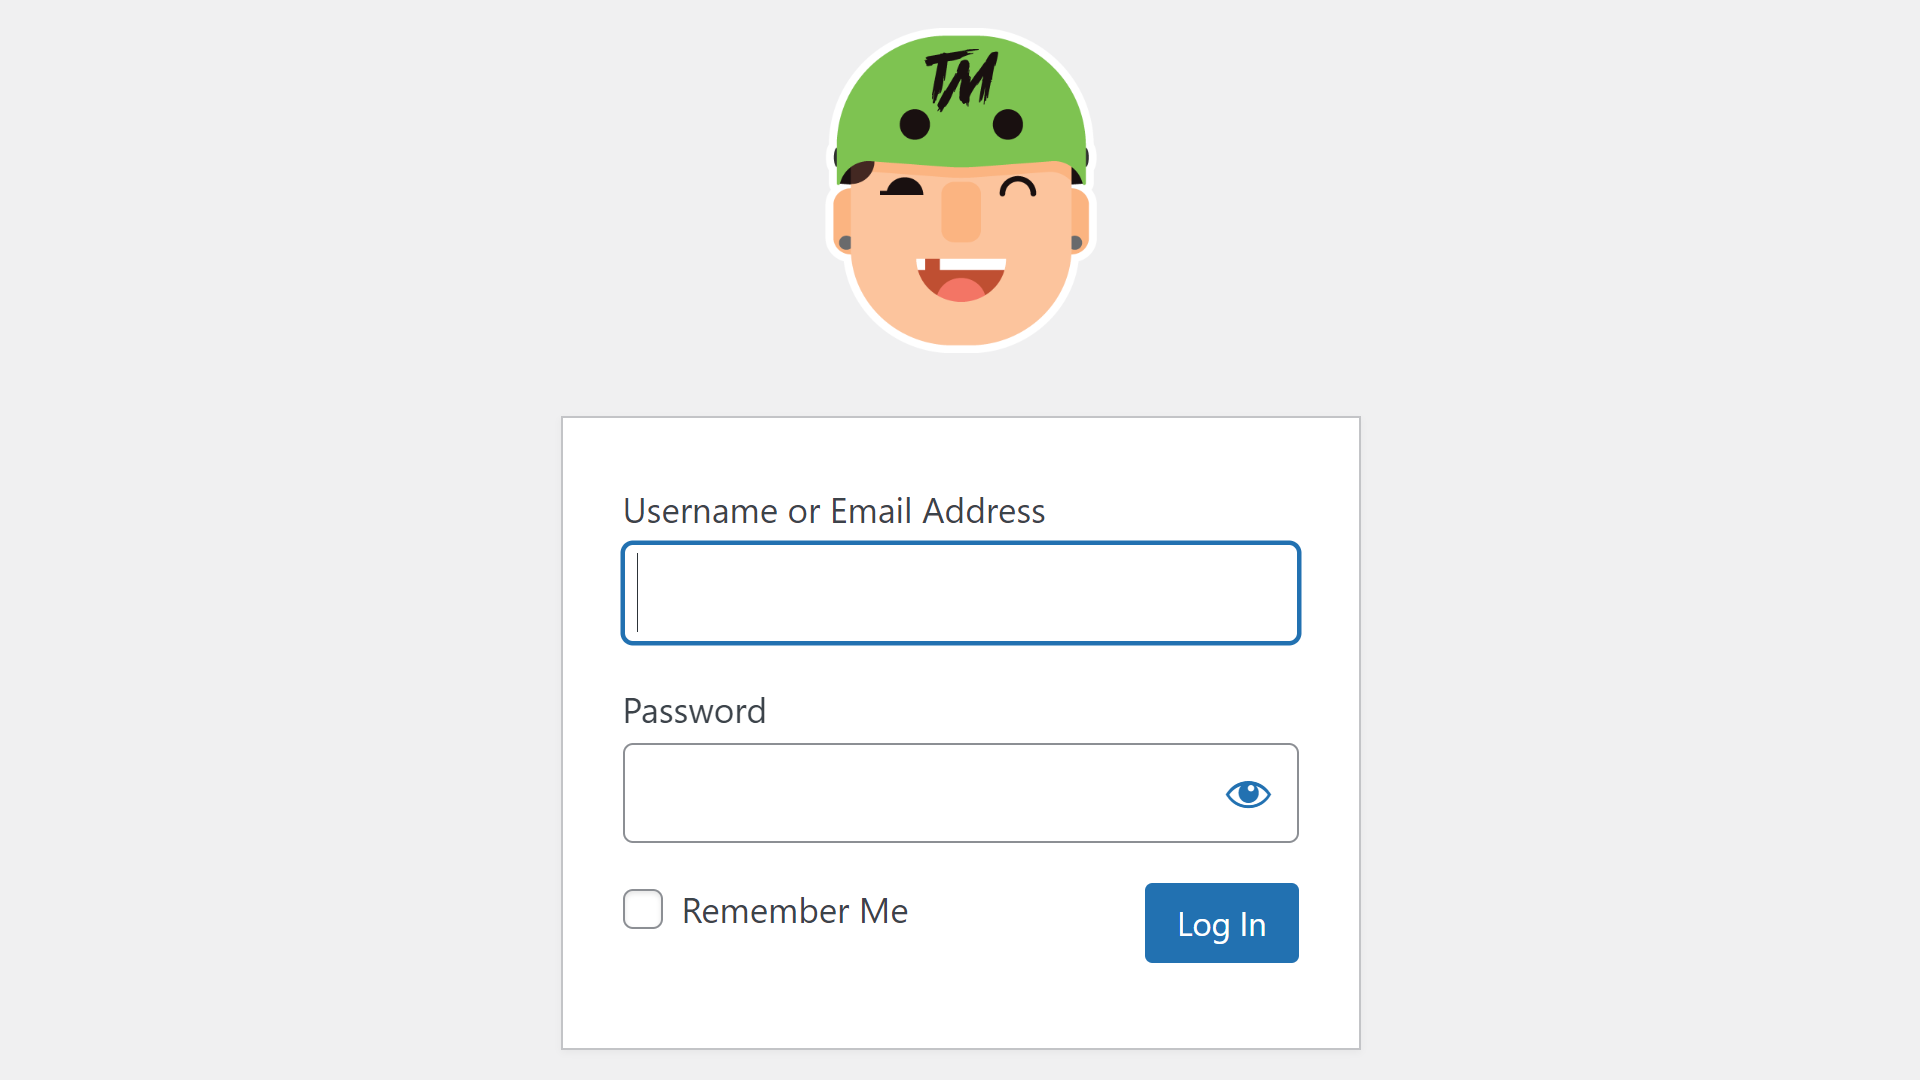
NOTE: This plugin only works with WordPress 6.4 and above.
STFQ Login Logo is a plugin that provides WordPress site administrators with the ability to customize the appearance and functionality of the login page.
Features Include:
- Custom Login Logo: Replace the default WordPress logo on the login page with an image from the media library. Administrators can upload their own logo to give the login page a personalized touch.
- Custom Logo URL: Customize the URL to which the login logo links. Instead of redirecting users to the default WordPress.org website, administrators can specify a custom URL, such as the homepage of their site or a dedicated login page.
- User-Friendly Interface: The plugin integrates seamlessly with the WordPress dashboard, providing an intuitive interface for administrators to manage login page customization settings.
Overall, the STFQ Login Logo plugin offers administrators a simple yet effective way to enhance the login experience for users and align it with the branding of their WordPress site.
How to use STFQ Login Logo
- Installation:
- Download the plugin zip file.
- Go to your WordPress dashboard.
- Navigate to
"Plugins" > "Add New". - Click on the “Upload Plugin” button and select the downloaded zip file.
- Activate the plugin.
- Setting up the Custom Login Logo:
- After activating the plugin, go to
"Settings" > "General"in your WordPress dashboard. - Scroll down to find the “Custom Login Logo” section.
- Click on the “Upload/Login Logo” button to upload an image from your media library as the custom login logo.
- Once uploaded, the image will replace the default WordPress logo on the login page.
- After activating the plugin, go to
- Customizing the Logo URL:
- In the “Custom Logo URL” field, enter the URL to which you want the login logo to link.
- This allows you to redirect users to a custom URL when they click on the login logo.
- Clearing Settings:
- Each setting field has a “Clear” button next to it.
- Clicking the “Clear” button resets the corresponding setting to its default value.
- Saving Changes:
- After making any changes, scroll to the bottom of the page and click the “Save Changes” button to apply the settings.
- Viewing Changes:
- Visit the login page of your WordPress site to see the updated login logo.
- Further Customization:
- You can further customize the appearance of the login page using CSS if needed.
